Week two is focused on duplication of the body segment and the head of the centipede. I was going to do the tail, but because I have been UVing as I modeled, I decided that would free up week 3 for more modeling and UVing.
So I started off by duplicating the original segment and connecting it to it's copy. I ran into numerous problems here so hang tight because everything get's resolved.
I started off sewing them together, but because I had problems seeing my work area, I decided to go inside and stitch him from there.
What I noticed was that when I first stitched them together, I was getting the dreaded six pole issue. (For those who don't know what a six pole is, it's where six edges come together at one vertex) This image does not accurately represent that, but this is just showing the connection was an issue.
So what I did to fix that issue is what I like to call the Extrusion Solution. It eliminates one edge from the area you are trying to fix. This only works BEFORE you stitch them together. Then again, you could go about stitching and then remapping the whole area of it's edges and vertices so that you have nothing but four sided polygons and four and five poles. I tried that and I'll admit, mapping is tough, so I came up with this as a last resort.
The next part was that when I stitched the two segments is that the two shells seemed to collide. So I had to quickly modify and reshape it to allow space for movement and bends.
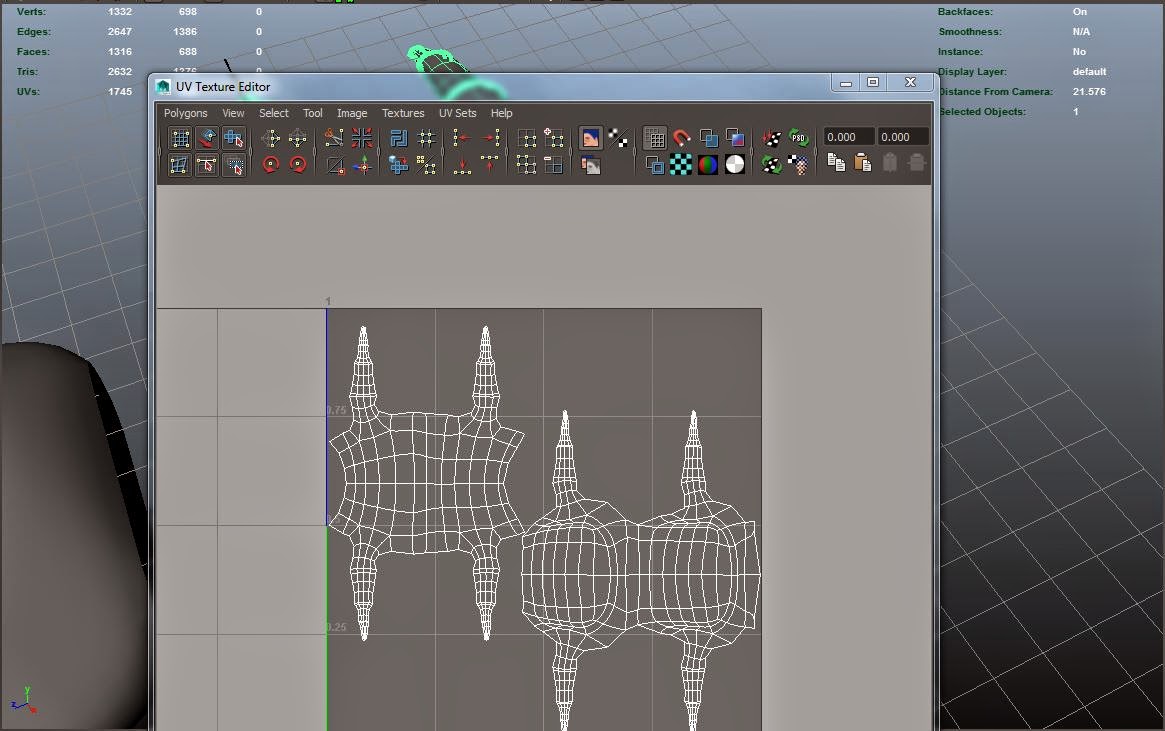
Now the problem with connecting these two segments is that the UVs get messed up. So all my work last time has to be remapped. An unfortunate, but necessary process. (This is one of the frustrations that is now eliminated due to a different process)
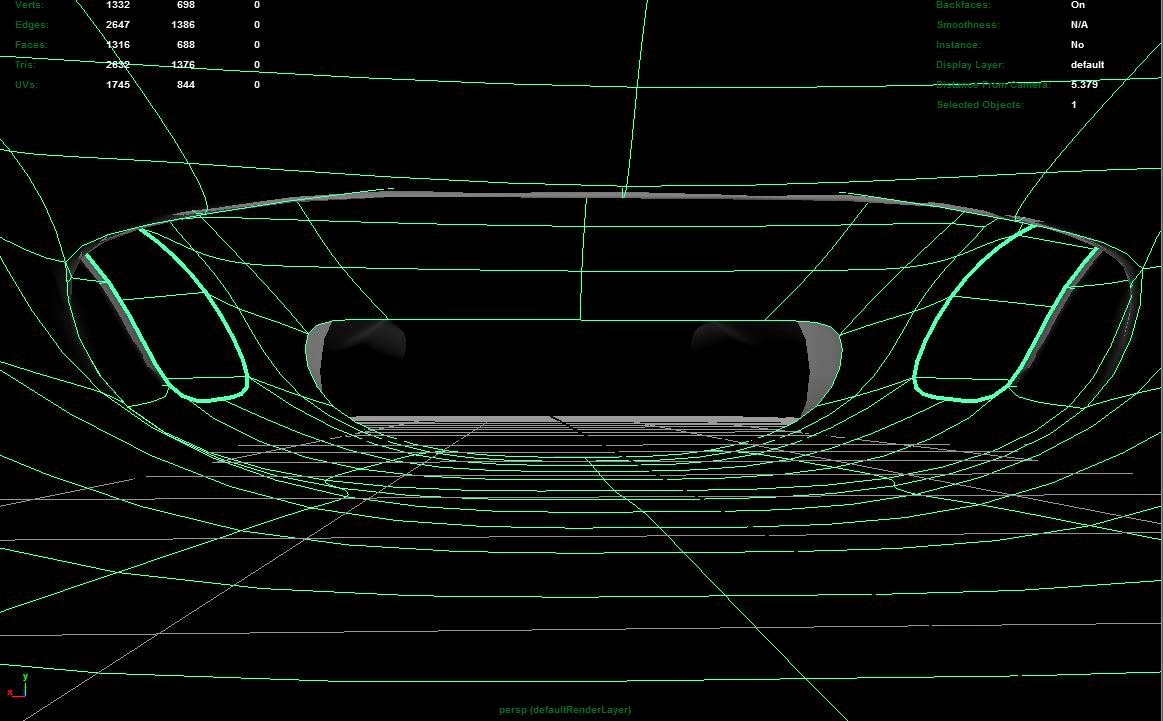
Next is the head which is just another block to be modeled. Again, the shape is square but also round in appearance with these two legs curved forward.
I had to prepare the back of the head for connection, so I deleted the rear faces and gave the shape the necessary number of edge loops to match the first segments front section. (This is eliminated now so stitching is no longer necessary, but still, these things can be useful in the future when connecting separate models)
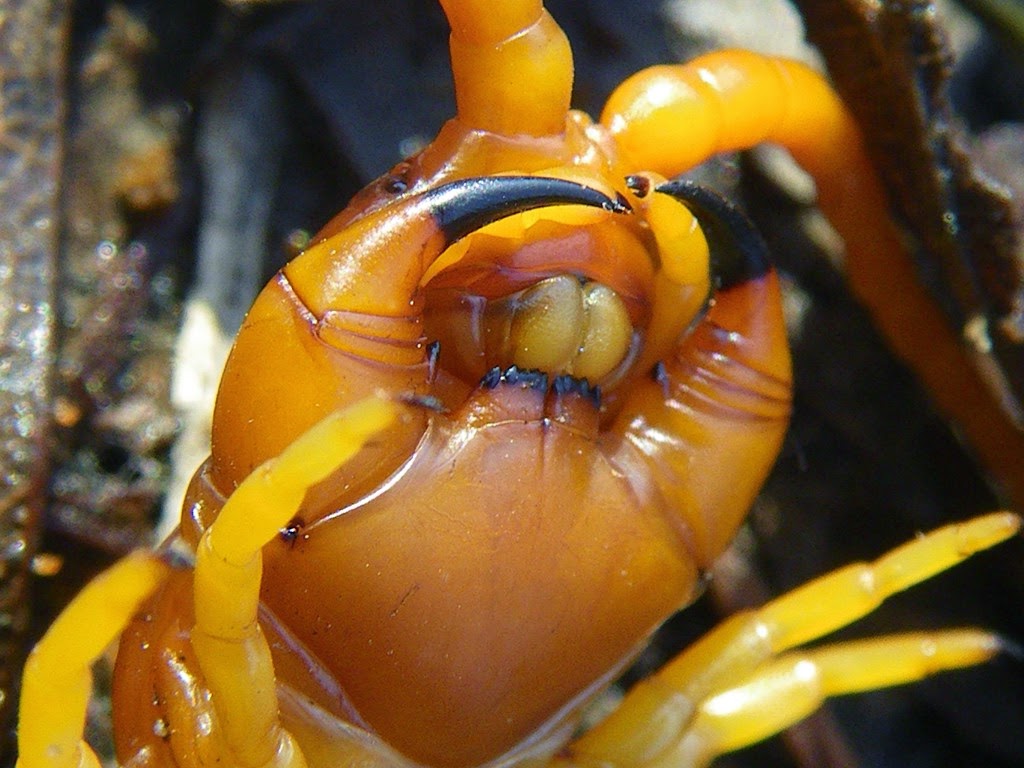
Next were to create the forward pincers which are basically just extrusions from the lower outside of the head. I creased the inner edge loop to get that necessary connected shape which isn't as apparent with body segments as it is with leg segments.
The antennae were pretty simple but still had a few mischievous moments for me. I extruded out from the top outside frontal area of the head and then creased back the beginning edge loop, not only giving it that segment feel but also dipping in the head in those areas to give it less of a basic geo shape and more complexity.
The length is apparently 3 to 5 head segments long for centipedes so I just drew them out to the appropriate length. The antennae of centipedes are more like connected bulbs than segments, so it's like looking at a chain of pearls. This means that they are extremely bendy, so numerous edge loops were needed.
After receiving some advice, I decided that the connection method I was going with was not optimal for what my project was about. So I cut off the previous segment and sewed up the holes that were left.
BEHOLD!! I duplicated the segments out in a straight line to my desired twenty segments. Because I eliminated the sewing method, my UVs are unaffected and I get that more exoskeleton look when viewing the model up close. This method will allow texturing to be easier in the future.
Next week I will be moving onto the tail end. It's not the same as a regular body segment so it needs a separate model.
Also, I will be trying to work on those little mandibles in there if I think I can get them in, to allow an eating animation in the future. Because I have been UVing as I went, this has freed up next week to let me get some additional things onto my centipede.