Friday, February 27, 2015

Week 5

Another week and more work done. This week is a continuation of the sculpting of the Centipede. Going in, I added more details to each of the segments, giving them all a "personality".

Here is the battered segment with which I decided to do even more damage. Scars, cracks, and marks really helped it look battered.


Here I added more ripples to the smooth and untouched segment, making it look brand new and what not and more realistically undamaged.


Here is the one that has more texture and noise than the other two, making it more robust. This one may be applied more to the middle segments due to their size.


Next is the Head which required a few things for me to fix before I really got into sculpting it out.


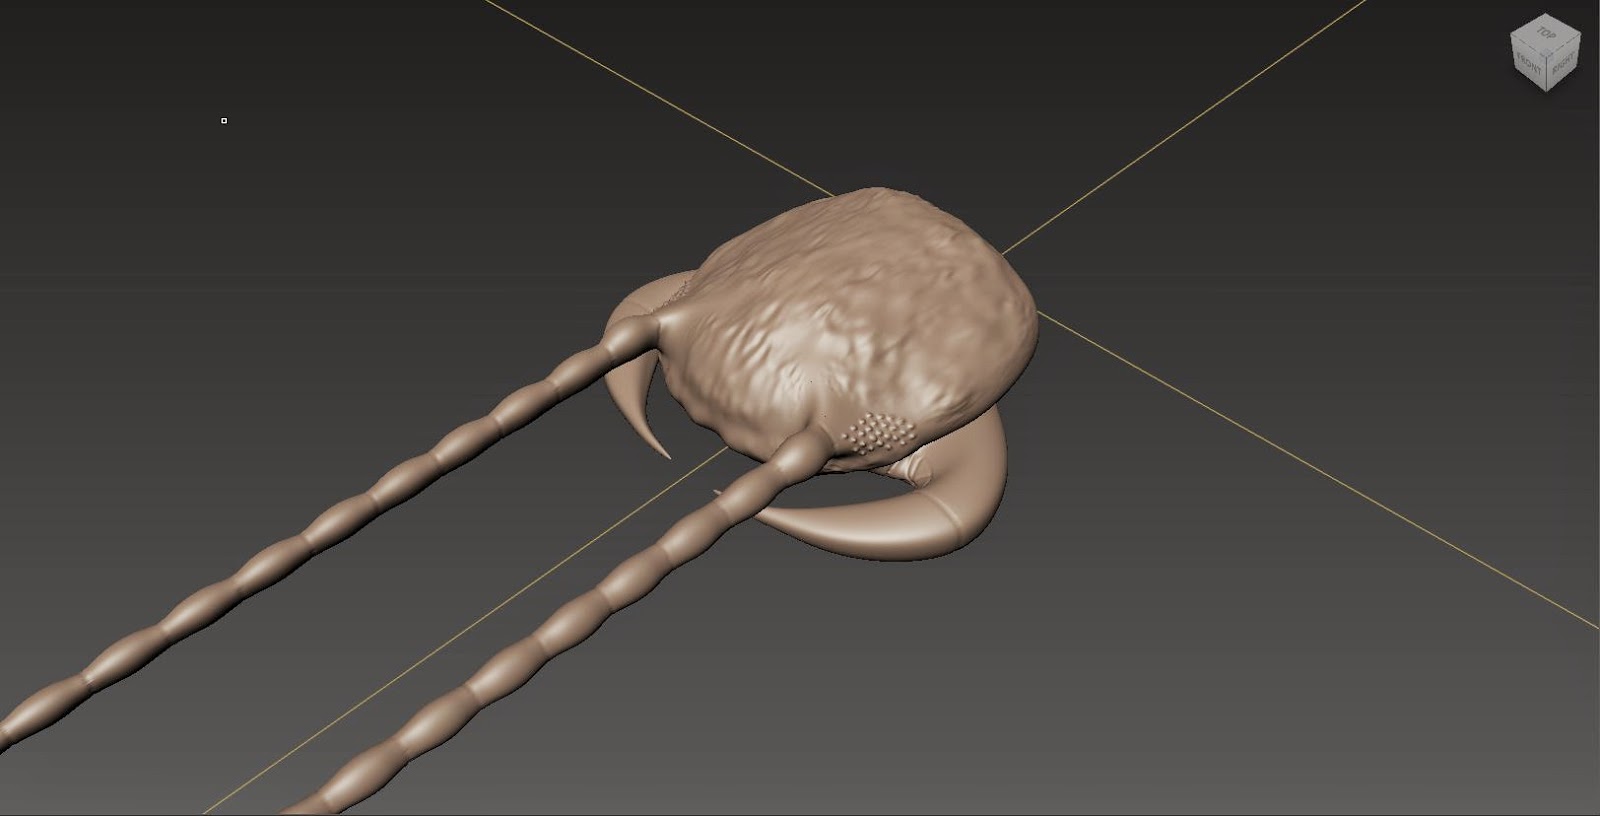
First of all, the antennae needed to be retopologized to not only allow better animation, but also a better look. Ech of the segments of faces needs to be a bulge that will bend at the edges connecting it to the next segment, because the centipede's antannae are not a long flimsy strand, it's a bunch of beaded segments that move and coil and squirm. (Kind of creepy when you watch it actually)


Also, the pincers needed to be enlarged and given a nice beef in thickness to allow for certain details in sculpting to be closer to the references. Also the ones I had looked like they were made of ceramic just from the shape; weak and brittle.


So I started texturing the head and I felt that I had been trying to match it too closely to the images I was referencing. I decided I needed to give it some more of my own individual preference. Where the head would be more smooth, I wanted it to look rocky or still somewhat battered. What if I wanted to use this centipede as a giant creature? I want to give it more personality!

The Pincers I wanted to be smooth, but before I could do that, I had to check out how it connected to te head. It wasn't like a segment, it was more like a spiderweb of joints that formed at the curve. The eyes are compound and vary from a bunch of bumps to a honeycomb sphere. For my purpose I wanted that bumpy look. More subtle than an actual large orb of discoloration.

So down there is a little mouth section. At first I was against adding any more parts to the main model and I stand by that. But it wouldn't hurt to have two little seperate geos that will act as moving mouth parts. Fortunately I can keep those large mounds as containers that surround the parts.


So here is the textured head. I may go in and touch up some areas, but next week is mainly going to be about coloration. I'll have more free will there, but I have a general idea of how I'm going to color this thing. But I won't mention anything, it'll be a surprise!

Friday, February 20, 2015

Week 4


Alright! This week I focused mainly on sculpting out some texture for the centipede. I had a presentation last week and I got a lot of great advice as to how I should progress. First of all, it was brought to my attention that not every segment is the same in size. In fact the size seems to increase near the middle of the body. So I went in with a latice deformer and stretched it out. I considered where the middle segments may be taller along the y axis as well, but looking at photos of large centipedes, it really isn't that much of a change, if any at all.


Next I looked at how a centipede looks in texture rather than color, and there were a wide variety of how I could sculpt it out. I noticed that the sides below the top shell are very wrinkly. I tried to copy that appearance and I feel like I'm really close. If anything as I write this blog I know exactly how to perfect it so looks like sculpting will push into next week. I also cut some dips around each segments end to give it more of that shell appearance.

I took a look at the carapace of several centipedes and noticed something interesting. Insect shells look smooth, but when you shine a light on them, the glare is somewhat distorted. It's not a perfect circle or oval, hence the shell is not perfectly smooth. There are shallow divets that divert the light in different directions, so I sculpted that out with a very noisy stencil and smoothed it out with an 80% strength.

The next thing that was suggested is that I sculpt each carapace differently to prevent noticeable repetition. So I made 3 types of tops for the centipede, one with dents, one that is untouched, and a third that is noticeably noisier in texture. I got the noise idea from one picture I found which gave it a more rough appearance rather than just being smooth. None of this is final so I will be working on them some more next week.
Last I have this week is the tail portion, which got the same treatment as the segments; wrinkly sides and a rough top with uneven divets in the leg segments and grooves between each leg portion. The only noticeable difference are those awesome spikes I made by pulling at the mesh. The hind legs of the centipede are the second strongest pair of legs on its body. They actually use them when wrapping around large pray and gripping them. Though these spikes do not add to this function, they are a gnarly addition and give it a more fearsome appearance.

 
As I said before, it seems sculpting will be pushed into next week as well, because the head isn't done yet and the other parts need some more details in my opinion. It was tedious to try and get the right look, but I know I am very close. I have talked to my professors about changing my planned schedule, letting them know that texturing will have to wait another week and that sculpting will go on for another. But I think that's alright. Every business hit's a snag occasionally when it comes to personal goals. What matters is if you meet the main due date when you're supposed to have the product shipped to the customer. So as long as I do that, this little change in plans is nothing to worry about.

Friday, February 13, 2015

Week 3


 This week I worked on the tail and made a few changes to the body. I also decided against making the mandibles of the centipede because they are so flat against the head it doesn't make sense to animate them for this project.


First of all, I had to shape the tail so it looks like an end piece. When looking at the tail of a centipede, it is rounded more than the body segment, but the hind legs jut out from the top as if part of the carapace, disrupting that flow by jutting out in two different directions. I created a little tab as well so that it feels like it just slides in.


For the hind legs, it's once again just another set of dual edge loops for a more mechanical joint instead of fluid.But, for the hind legs, the only difference is that I extruded from the corners of the main geometry rather than the sides, because that is where they extend from on a centipede's body.


So here is just another example of that extrusion and creasing method, giving it that segment appearance.


There you have it, the centipedes tail. I kept the legs straight for the future purpose of rigging them.


Putting it in place, it now has that nice little end to a flow of numerous identical segments.


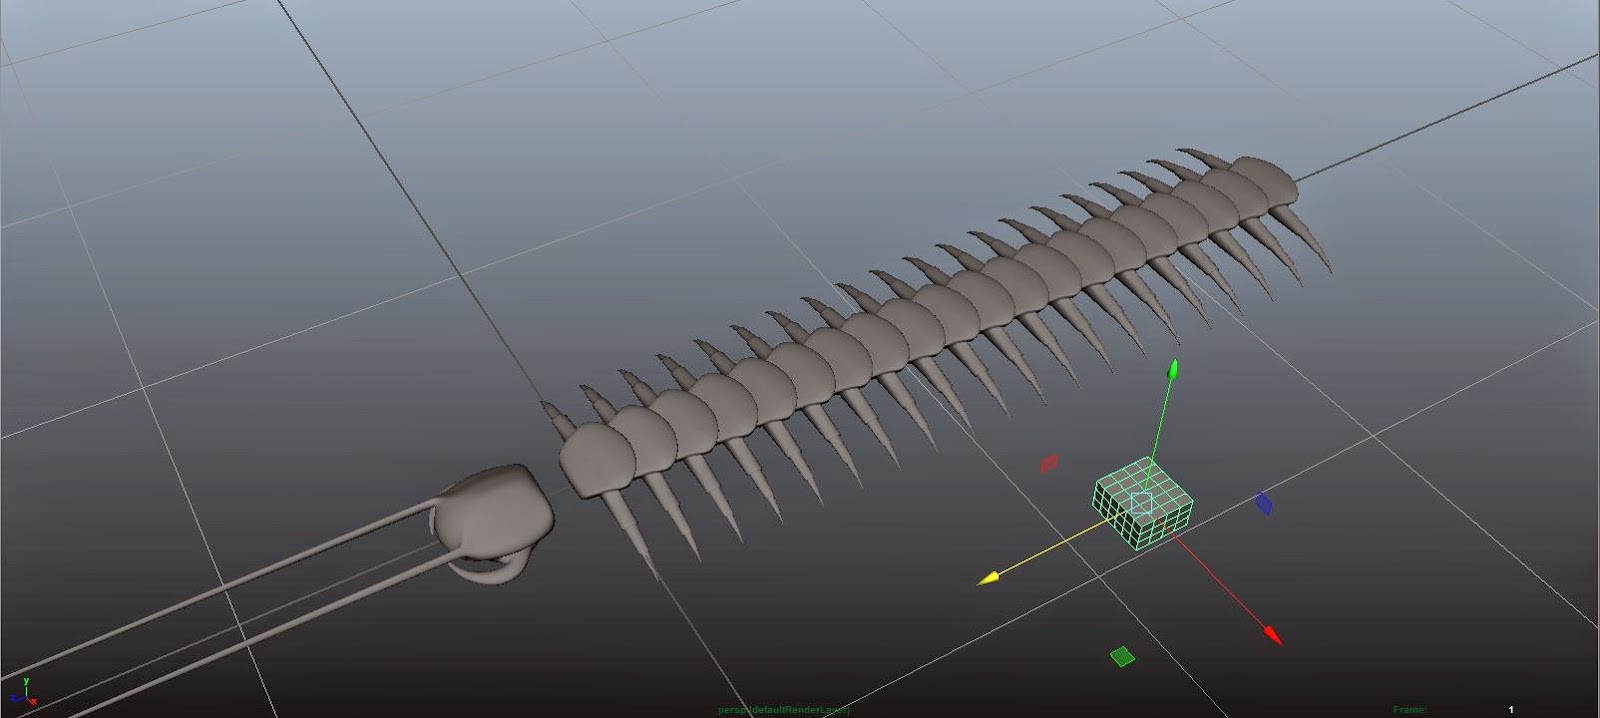
Now, looking back I thought my body segments were neat and perfect. But I got some insight from outside opinions and they said the same thing, "It feels flat." That won't do now will it. I'm making a centipede not a flatworm.


So what I did was I reshaped the top side of the geometry, giving it more of a rounded appearance both from the side, from the front, and from an angle. Sadly I did not instance the body segments so I had to delete all but one of the segments and recopy them all.


Voila, the centipede model is complete! But are the UVs all in good order?


I'd say so.


 Next week, I'm going to sculpt out the carapace and joints of the segments and head. I'm thinking of sculpting the eyes in, but possibly not.


Also, gonna sculpt those gnarly little spikes in.